[20200708] Github Pages 教學
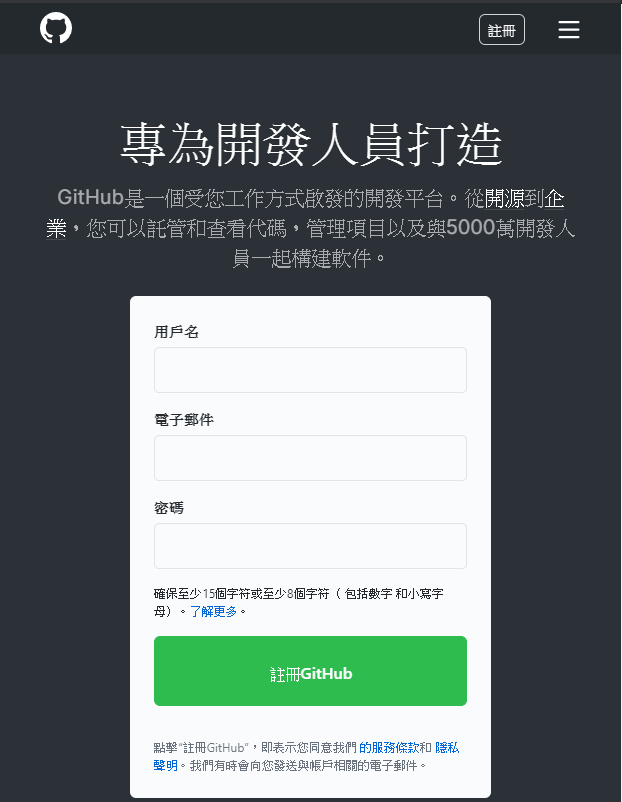
1. 在 Github官網 (https://github.com/) 註冊帳號
2. 建立一個「新的資料庫(New repository)」(https://github.com/new)
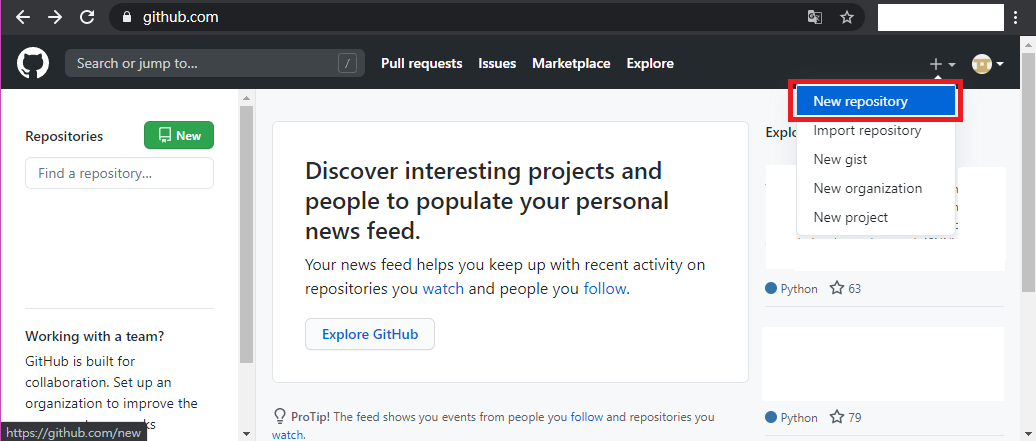
3. 建立一個 GitHub帳號 同樣名稱+「.github.io」的儲存庫名稱(Repository name)
-
例如: GitHub帳號名稱 為「username」,則 儲存庫名稱 就取為「username.github.io」。

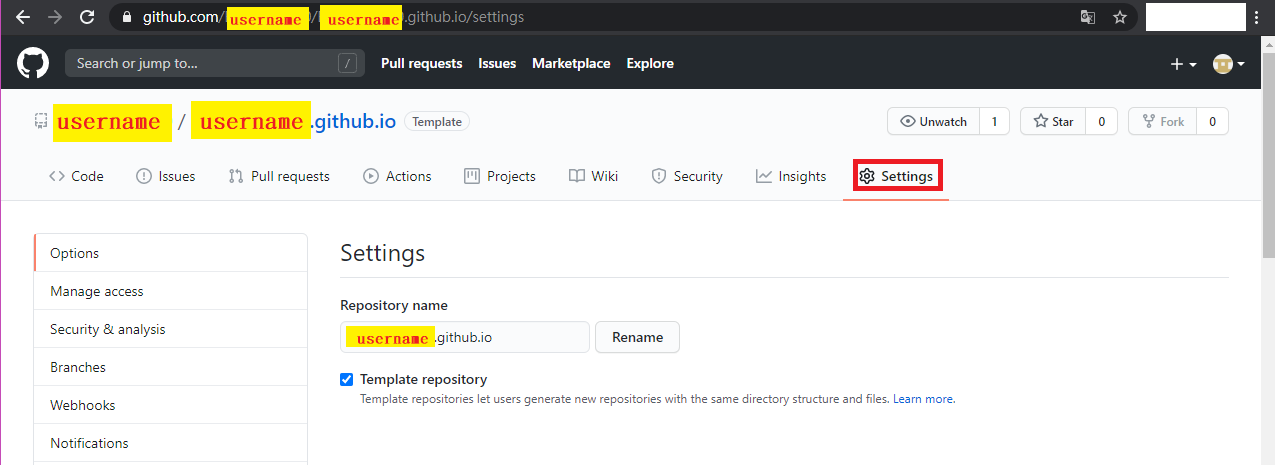
4. 進入該專案後,點選「Setting」進入設定頁面內。
5. 往下滑,滑到「Github Pages」,點選「Change theme」。
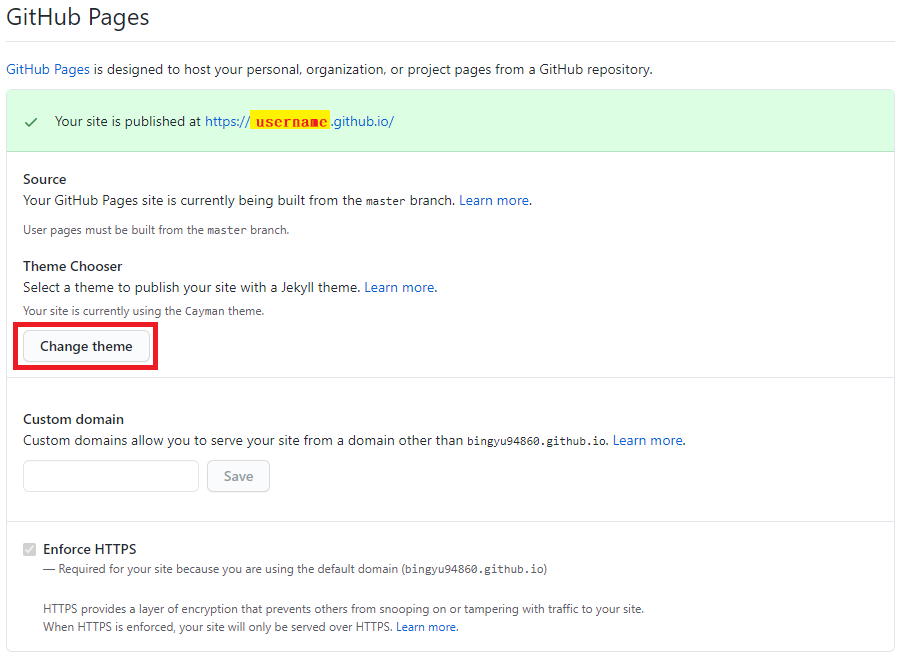
6. 選擇一個妳喜歡的主題,最後並點選「Select theme」。

7. 基本上這樣子,就已經建立好自己網站了,可以試試在網址輸入 username.github.io (username 需改成自己 GitHub帳號名稱),進去看看了!
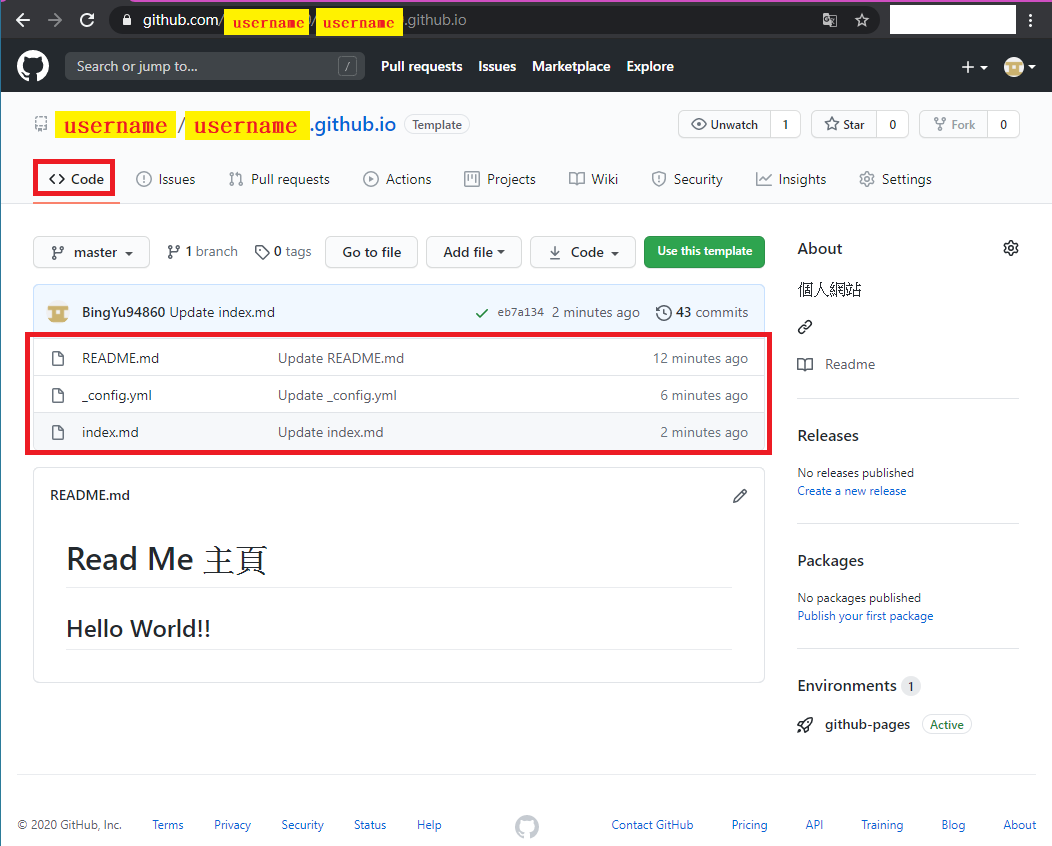
8. 我們進去專案裡面,點選「Code」會看到有三個檔案,依序說明。
-
首先「README.md」為專案主頁下方所呈現給其他用戶對於該專案的說明(給其他人看的)。
-
再來「_config.yml」是用來設定部落格相關資訊,例如:設定網頁風格主題(theme)…等。
-
最後「index.md」就是個人網站一進去的主頁面。
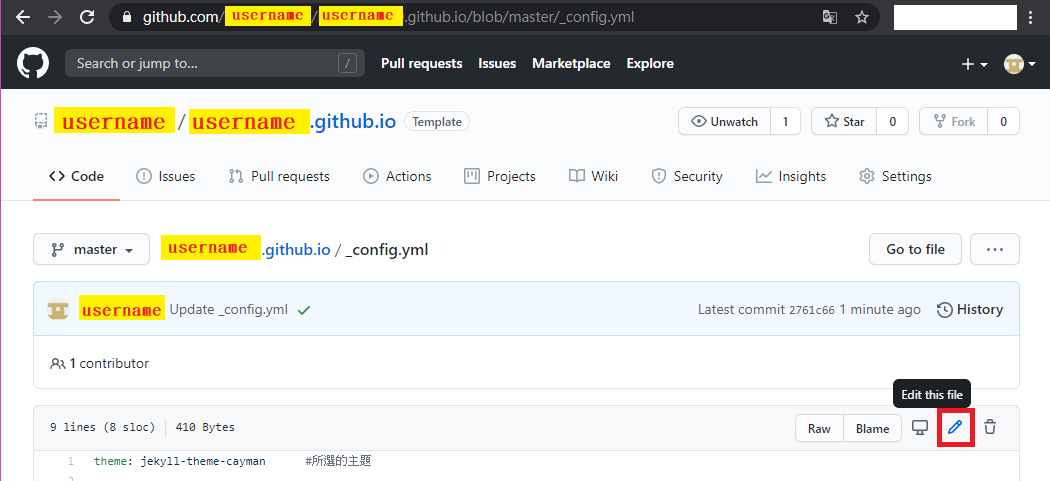
9. 我們點選「_config.yml」的檔案,並按下編輯。
-
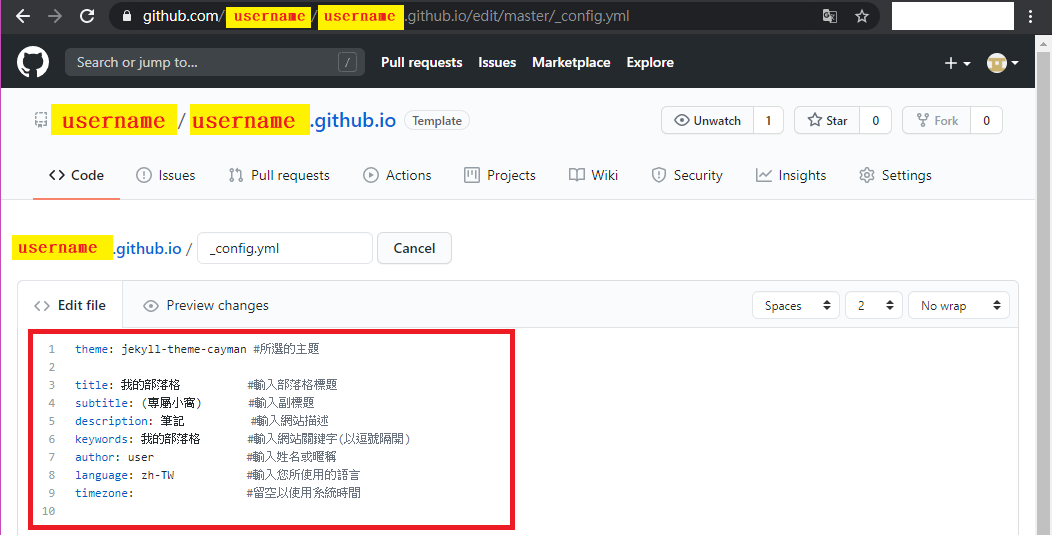
進去後,我們編輯以下的相關資訊。
-
可以直接複製的 (#以後都是註解)
theme: jekyll-theme-cayman #所選的主題

title: 我的部落格     #輸入部落格標題
subtitle: (專屬小窩)  #輸入副標題
description: 筆記    #輸入網站描述
keywords: 我的部落格  #輸入網站關鍵字(以逗號隔開)
author: user        #輸入姓名或暱稱
language: zh-TW     #輸入您所使用的語言
timezone:           #留空以使用系統時間
-
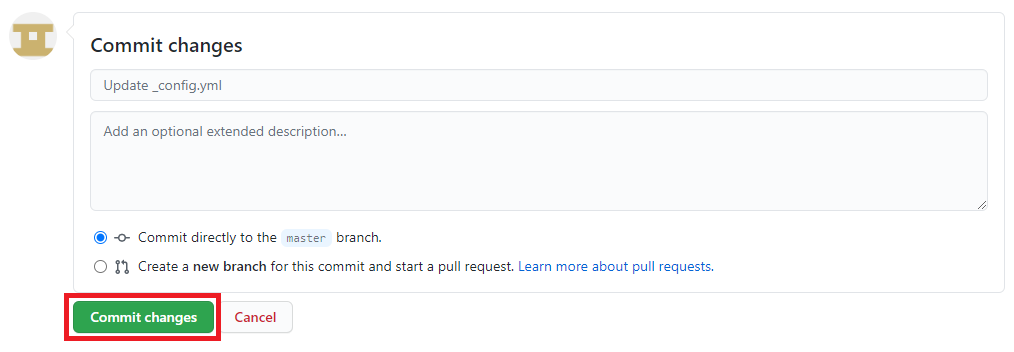
編輯完,按下「Commit changes」,保存剛剛所寫的。
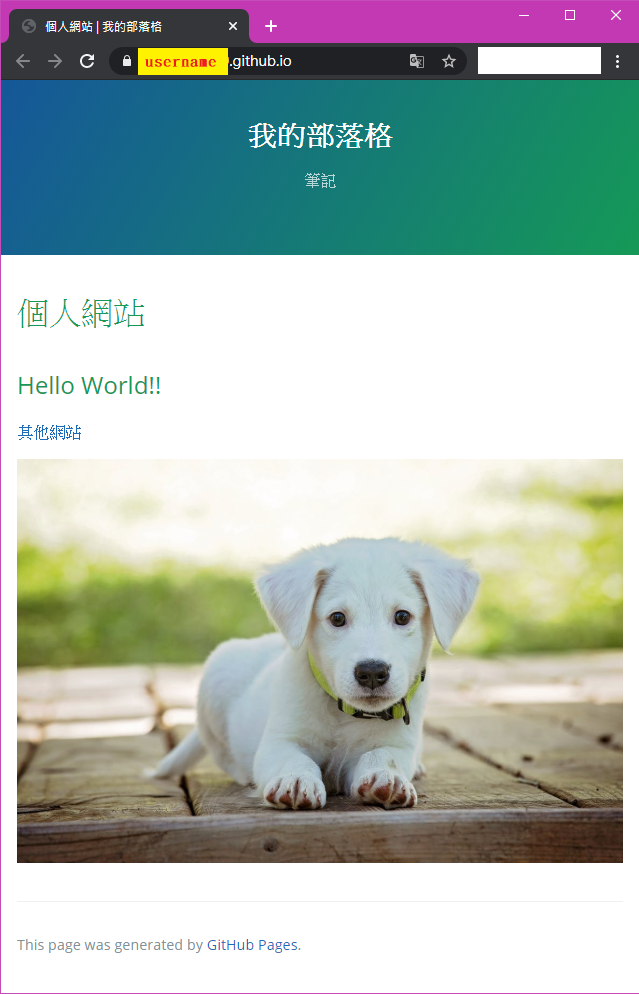
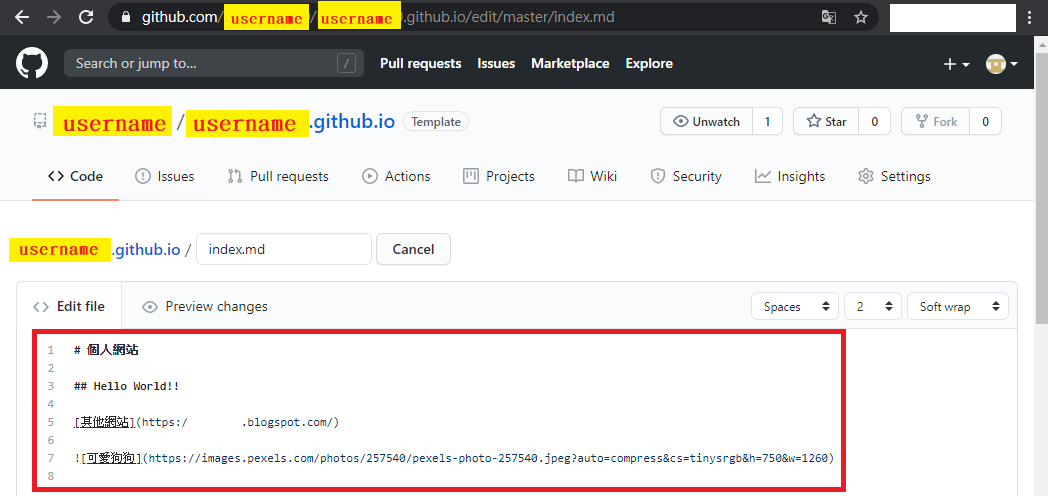
10. 我們點選「index.md」的檔案,並按下編輯,編輯我們個人網站所要顯示的內容(如下圖紅框)。
-
語法為 Markdown,在這推薦一個編輯軟體 Typora 給初次接觸的人,可以用來編輯自己的主頁。
-
可以直接複製的
# 個人網站
## Hello World!!
[其他網站](https://www.google.com/)

11. 完成後,可以再次進入我們個人網站看看!